Functionality of the hook fixation
The hook fixation is suitable for standard passenger cars, test vehicles and prototypes up to 2.5 t. To fix the vehicle by means of hooks, two fixing rods each are attached to the front and rear of the vehicle. These are clamped in plug-in anchors or sliding anchors and are thus connected to the test stand floor.
The hook fixation is available in three variants
Fixing rods
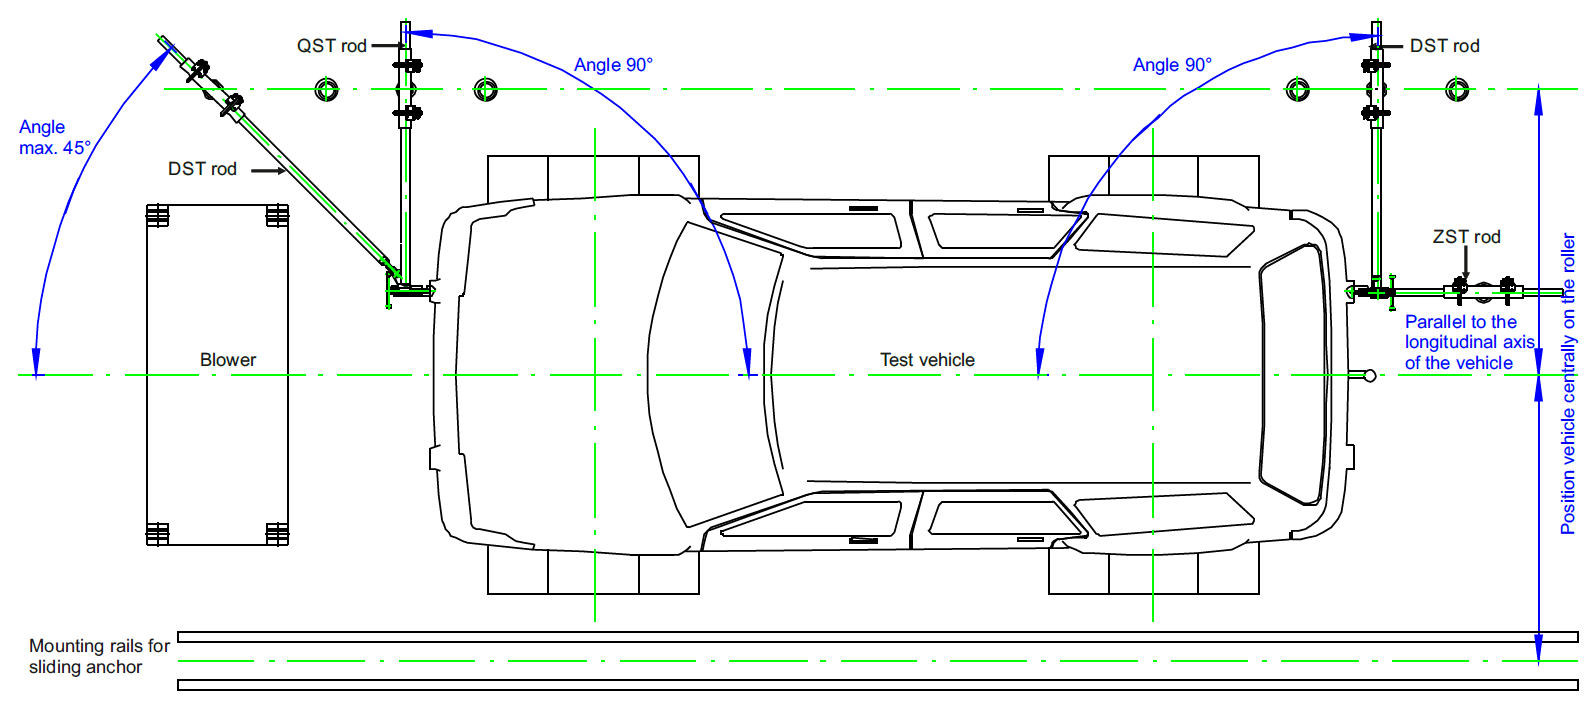
The lateral rod (QST) and the tractive rod have a hook, the trailer coupling rod (AST) has a mounting head. The hook or mounting head is hooked into the tow eye or placed on the trailer coupling in a few simple steps. The diagonal rod (DST) is firmly connected to the first rod and serves as lateral stabilisation.
The lateral rod (QST) runs at right angles to the longitudinal axis of the vehicle. Ideal if no space behind or in front of the vehicle is available.
The tractive rod (ZST) is mounted parallel to the longitudinal axis of the vehicle. The tractive rod absorbs longitudinal forces best.
The trailer coupling rod (AST) is available for fixing the rear of the vehicle. A receptacle unit is plugged onto the hitch.
Clamping
Technical documentations and operating instructions
Further informations and downloads on this topic can be found in the section Operating instructions.
Mounting hook fixation
The assembly of the hook fixation is shown below step by step using the cross rod QST. The system here is equipped with plug-in anchors. Sliding anchors can also be used. In practice the set-up time per fixing triangle is about two minutes (rule of thumb: 1 minute per bar).
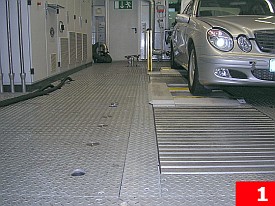
Drive the vehicle onto the test stand and align it, e.g. using the centring assistant. Apply the handbrake.
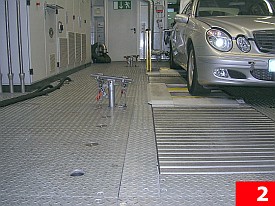
Position the first anchor so that the lateral rod (QST) runs transversely to the direction of travel of the vehicle.
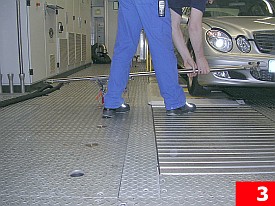
Insert the lateral rod into the open bar receptacle on the anchor. The rod receptacle remains open.
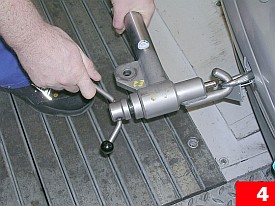
Hook the lateral rod into the tow eye of the vehicle and turn the lever closed.
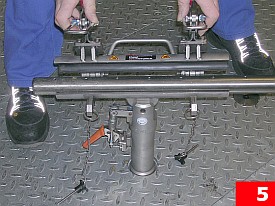
Close the rod holder and lock both locking clamps. These must engage perceptibly.
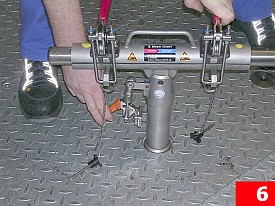
Close the locking lever on the first plug-in anchor. This fixes the anchor in the floor socket by clamping.
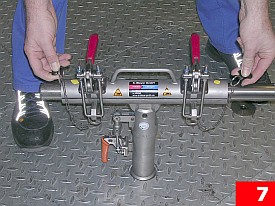
Insert one locking pin on each side of the rod holder through the holes in the lateral rod.

Position the second anchor so that the angle between the diagonal rod DST and the direction of travel is max. 45°.
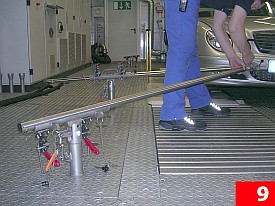
Insert the diagonal rod into the open rod receptacle of the second anchor, leave the anchor open.
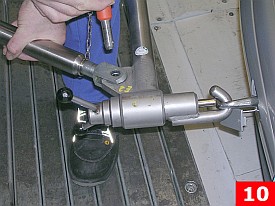
Slide the clevis of the diagonal rod onto the mounting unit of the lateral rod and secure it with the ball lock pin.
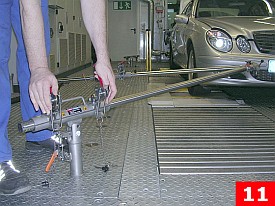
On the second anchor, close the rod holder, close the locking lever and insert the locking pins.
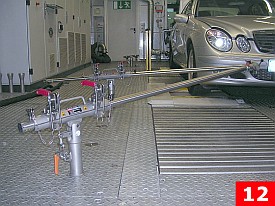
Now roll up the vehicle, then fix the rear axle. After that the vehicle is ready for testing.


